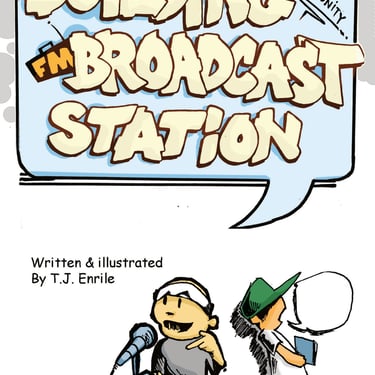
How To
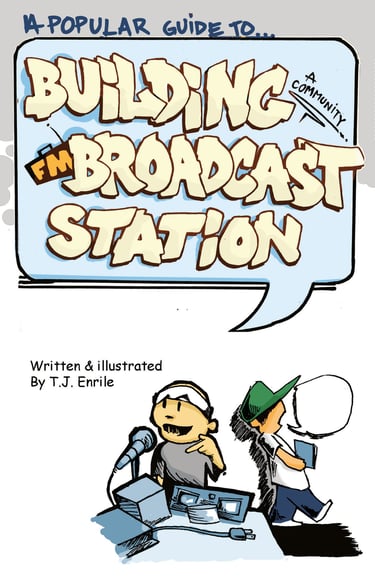
A PopularGuide To Building A Community Broadcast Station
An illustrated guide to building a community FM broadcast station. View pages below. Click here to download the PDF.
Micropower Broadcasting Primer
A Technical Manual For Setting Up An FM Broadcast Station. Click here to download the PDF
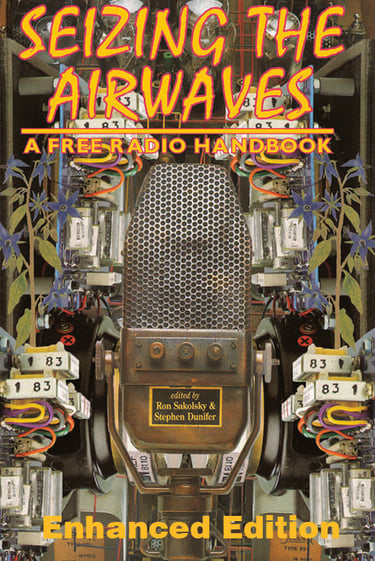
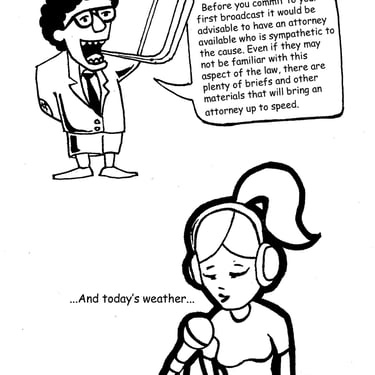
Seizing The Airwaves
[Dive into the world of grassroots media with Seizing the Airwaves: A Free Radio Handbook, an essential guide for anyone who believes the airwaves belong to the people. ]Edited by movement pioneers Ron Sakolsky and Stephen Dunifer, this book serves as both a political manifesto and a practical DIY manual. It chronicles the rise of the free radio movement through compelling essays and interviews with activists who challenged corporate media monopolies by building their own community stations. More than just history and theory, this handbook provides detailed technical primers, from building a transmitter and antenna to what to do when the FCC comes knocking, empowering you with the knowledge to put a community voice on the air for as little as $1000. [cite_start]If you're tired of formulaic commercial radio and ready to join the "electronic civil disobedience" movement, this book offers the inspiration and the instructions to help you seize the airwaves and fight back. Download
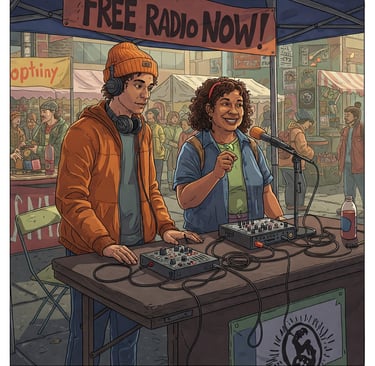
Drive By Radio


"Drive-by radio" offers an adaptable alternative, especially if you are initially hesitant to commit to a fixed studio location. This approach involves setting up a portable broadcast operation at public events or gatherings. Free Radio Berkeley, for instance, operated a weekend station at a local community flea market, aptly named "Flea Radio Berkeley," with the motto: "Creating the itch the FCC cannot scratch out." Powered by a 12 volt car battery, this 6-watt station covered a radius of several miles. Drive-by radio is an excellent way to introduce micropower broadcasting to your community, garner support, recruit new programmers, and provide a platform for community self-expression.
Using a Bluetooth audio receiver (mentioned below) allows local musicians and DJ’s to share and broadcast their tracks by pairing their smartphone or tablet with the Bluetooth receiver connected to the mixer.
Given past experience, FCC intervention for this type of temporary, event-based broadcasting is unlikely. Drive-by radio is perfect for a variety of settings, offering a direct line to your community when it matters most:
Community Events -: Bring live broadcasts to flea markets, street fairs, and farmers’ markets. Picture a setup at a local market, playing music and sharing updates, while folks tune in on their boomboxes—what we call the People’s PA. It’s a celebration of local voices!
Protests and Demonstrations - At picket lines, strikes, or protests, handing out leaflets to passing cars isn’t always possible. But a large banner saying “Tune to 87.9” can turn drivers into listeners. Amplify your message—whether it’s for justice, equity, or change—right to their radios.
Freeway Overpasses =: Holding banners on overpasses during rush hour is a powerful way to reach a captive audience. Add a drive-by radio station with a sign reading “Tune to 87.9,” and you’ve got a direct channel to thousands of commuters. Your voice cuts through the noise—literally!
Disaster Support and Public Safety -: When disaster strikes—floods, fires, or storms—drive-by radio can be a lifeline. Set up near an evacuation center’s staging area (while being mindful not to hinder first responders), and broadcast critical updates, resources, and messages of hope. In the mid-90s, Kind Radio in San Marcos, Texas, proved this during a 100-year flood, helping the community stay connected and informed when traditional channels failed.
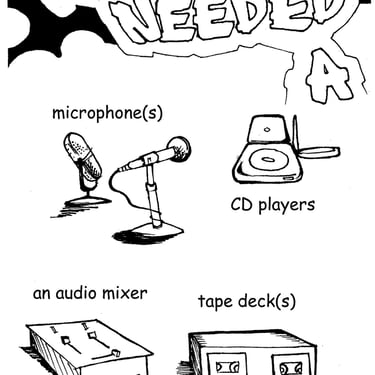
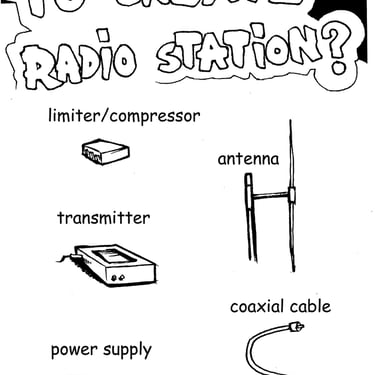
Essential equipment for drive-by radio includes:
A 5-30 watt FM transmitter.
An antenna: A dipole, ¼ wave ground plane, or a Comet 5/8 wave ground plane antenna are well-suited for portability and performance. The Comet antenna has gain which will increase the signal strength. See the antenna section of this handbook for full details.
25-50 feet of coaxial cablev with PL-269 connectors on the ends. Use ultra flex RG-213 coaxial not RG-8X or RG-58 which are not suitable because they have a much higher signal loss. Keep the length as short as possible to minimize signal loss.
Portable power station rated for 500 or more watts. This is much easier to del with compared to a 12 volt car battery. A power station will supply clean 110 AC to power your transmitter and mixer for hours. One or more solar pane;s can be added for long term operation. Ecoflow is a well rated brand with used/reonditioned 500 watts going for around $150 on Ebay.
A small audio mixer with enough channels to support at least 2 microphone and 2 stereo line level inputs for external audio sources. Best brans are Yamaha (probably the best built), Mackie and Behringer. Check Ebay, Craigslist and other sites for used gear. Avoid the cheap Chinese mixers selling for $50-$100, they are not durable. In this application do not use mixers with slide faders which are not appropriate for dusty outdoor environments. Choose ones with rotary controls.
A portable radio with headphone out to monitor the on air signal.
A Bluetooth audio receiver that plugs into the mixer or directly the transmitter allowing smart devices such as tablets or phones to function as both audio players and mixers.
At least two microphones with another spare if possible plus extra cables whic are notorious for failing after a lot of use..
A portable CD player or audio source. (Consider a smartphone or tablet for digital audio playback).
Various audio and power cables. A stash of audio cables of various types along with adapters is very desirable.
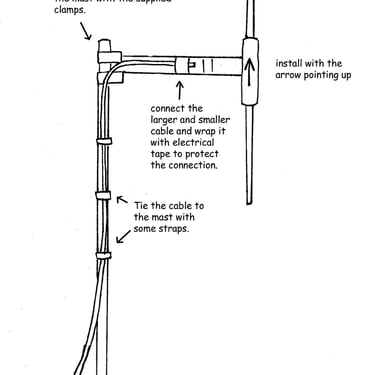
A mast and stand to support the antenna. Mast height should not exceed 15 feet since a Comet ⅝ ground plane antenna will add another 5 ½ feet or so to the height and a dipole will add a little less than 3 feet. The ⅚ ground plane is preferable for two reasons: One, it keeps the weight centered on the mast while the dipole has boom arm that will stick out horizontally fron the mast a little less than 3 feet; two, the ⅝ ground plane has gain effectively doubling the power of the signal while a dipole has unity gain. A 3 foot antenna tripod is used to secure hold the mast in a vertical position. See details below on how to stabilize the tripod. Masts can be either metal or plastic with an outside diameter of 1 ¼ inches to 1 ⅔ inches. 1.25 inch PVC schedule 40 pipe works well. Cit to 5 foot lengths 3 pieces of both 1 inch and 1.25 inch PVC pipe. Slide the 1 inch pipe into the 1.25 inch pipe to reinforce it and reduce its flexibility. Then ussing PVC pipe cement, glue a 1.25 inch coupler with female thread one end and a lip fitting on the other end to each end of one of the pipe sections. For the two remaining sev sections, glue a corresponding coupler with male threads onto one end of each piece. This creates a very portable and light mast weight mast easily assembled and taken apart. The mast can also be affixed to a metal sign post with 3 or 4 hose clamps of an appropriate diameter. Details below.
Tools and Materials - A set of tools such as an adjustable wrench, slip joing pliers, needle nose pliers, diagonal cutters, a small set of sockets or nut drivers (especially useful for hose clamps).mMixed set of screwdrivers, flashlight, etc. Materials include: nylon cable zip ties or velcro straps (use to hold the antenna cable to the mast at 3 or 4 points along the length of the mast. Velcro cable straps are also used to keep your cables nest and tidy when stored; duct tape or gaffers tape which is used for holding cables flat agains against a hard surface and a variety of other uses use or quick repairs; a first aid is a good idea just in case
All equipment should be easily transportable and fit onto a folding table. Depending on the event location, you may be able to temporarily affix the antenna and mast to existing structures like sign poles or light posts using hose clamps (carry a variety of sizes, 3-5 inches in diameter).
[Diagram illustrating a portable "Drive-by Radio" setup at an outdoor event, similar to the original document's diagrams would be placed here.]
For a tripod antenna mast base, consider using a three-foot antenna mast tripod bolted to concrete blocks (½ block size), with one block under each leg (use a masonry drill bit to pre-drill holes to match the tripod feet mounting holes). ¼ or ⅜ bolts are sufficient. Each block weights about 20 pounds. A total weight of 60 lbs. should be sufficient for most conditions. If the wind picks keep an eye on the antenna and mast to make sure there there is not much movement. Another robust option, particularly if you have welding skills, is to weld a three-foot steel pipe (inner diameter slightly larger than the antenna mast) perpendicularly to a steel plate (approximately 2x3 feet). Drill and tap a hole at the top of the pipe to accommodate a setscrew for securing the antenna mast. Driving a vehicle tire onto the steel plate provides a secure and easily deployable anchor. Insert the mast with the antenna attached into the pipe and tighten the set-screw to prevent rotation. A similar support can be made with a 2 x 10 wood board - see diagram below for details. Up to 15 feet of mast can be used in this way, or even more if using a push-up mast with guy wires.

A Popular Guide To Building A Community FM Broadcast Station


Connect
Engage
freeradioberkeley@gmail.com
+1-510-799-1779
© 2025. All rights reserved.